My Process
Understanding my process is important to keep in mind when looking for items to purchase on the site, and it's also informative!
Making ceramics is a very long process that requires many steps which is why I do "drops" of products periodically. This timeline should hopefully be both interesting if you were curious about how pottery works, and should also be informative about why things take as long as they do. Since I'm a one-man shop with a full time job, products may sell out quickly since I may not have much stock to sell
1
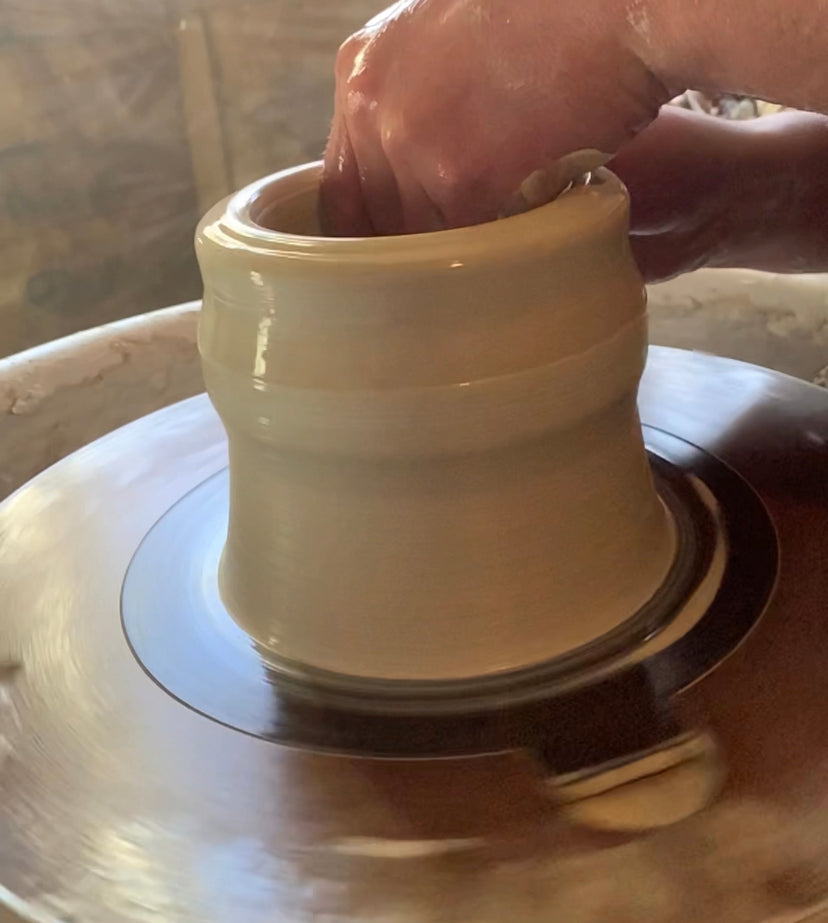
Throwing
First, I throw my pieces on the wheel. This involves getting clay, deciding on what I'm going to build, and then actually creating it with my hands!
2
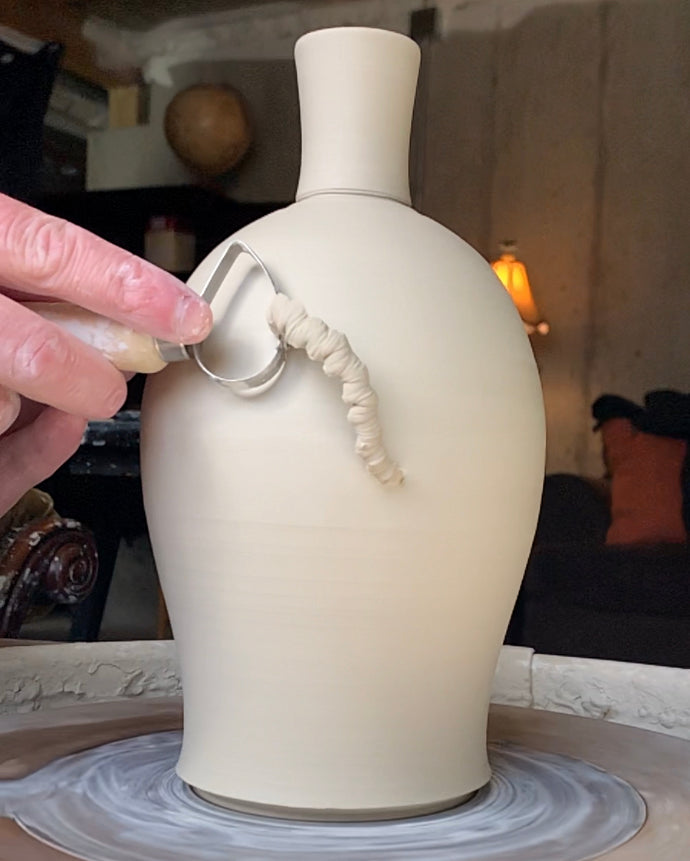
Trimming
Once the clay has entered the stage called "leather hard", it's possible to trim the excess clay off of my piece. When I take the piece I made off of the wheel, there's generally a lot of excess clay on the pot that needs to get trimmed off. To make the perfect shape and to carve a nice foot ring, the clay must be somewhat dry, but not "bone dry".
3
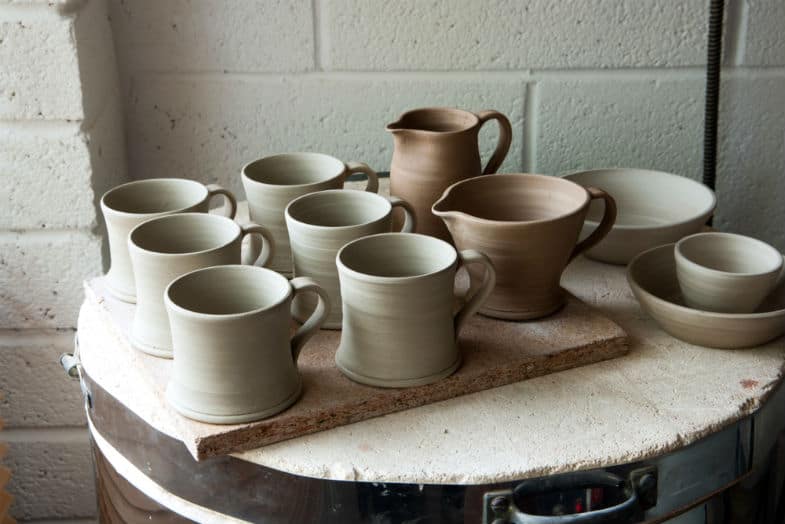
Drying
Before the pot can go on to the next step, it has to be completely dry or the moisture trapped in the clay will cause it to explode in the kiln!
4
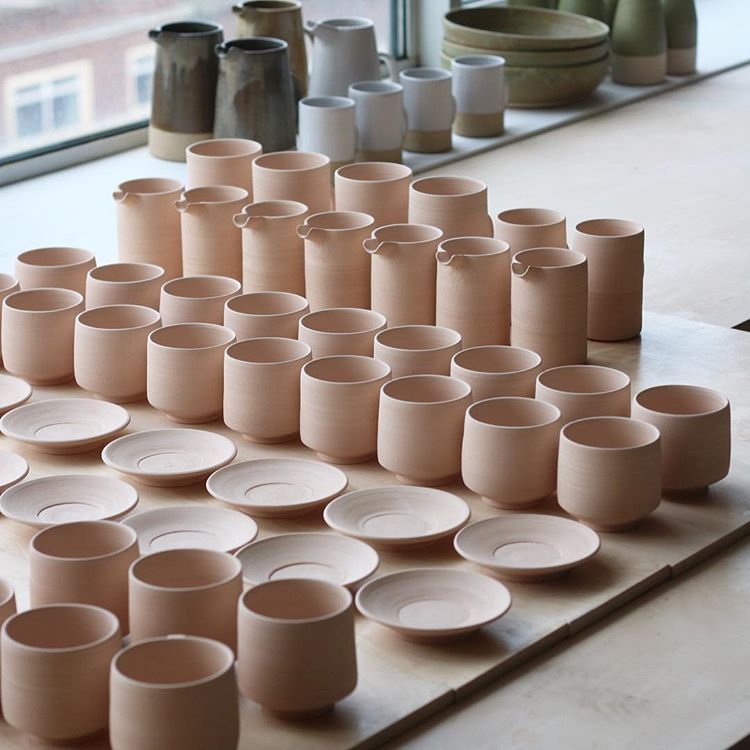
Bisque Firing
Bisque firing happens once your piece has been thrown, trimmed, and dried. Before it has been bisqued, the clay is very brittle and easily broken, and glazes cannot yet be applied. This is where bisquing comes in! Here is when I put my pots in the kiln and they are fired up to Cone 06 - 04 (around 1800-1900 F!). This allows the molecules (mainly silica) in the clay to melt and adhere together to form a more crystalline shape.
This stage takes a longer time simply because you would never bisque one pot at a time (this is why custom orders take so long!). Every time the kiln is fired, it costs (depending on where you live and average electricity costs) around $10-15 dollars. If I were to bisque one pot at a time, the electric bill would be astronomical. Instead, I wait to build up lots of pieces, and fire as many as I can fit into the kiln at once.
5
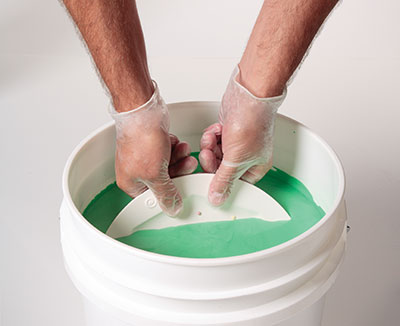
Glazing
Once the pieces have been bisqued, I can now glaze them to add my colors and textures. This is where you get your matte or smooth finishes and where all of the color comes from. I either dunk my pieces into a large bucket with tongs, or paint on the glazes in several coats.
6
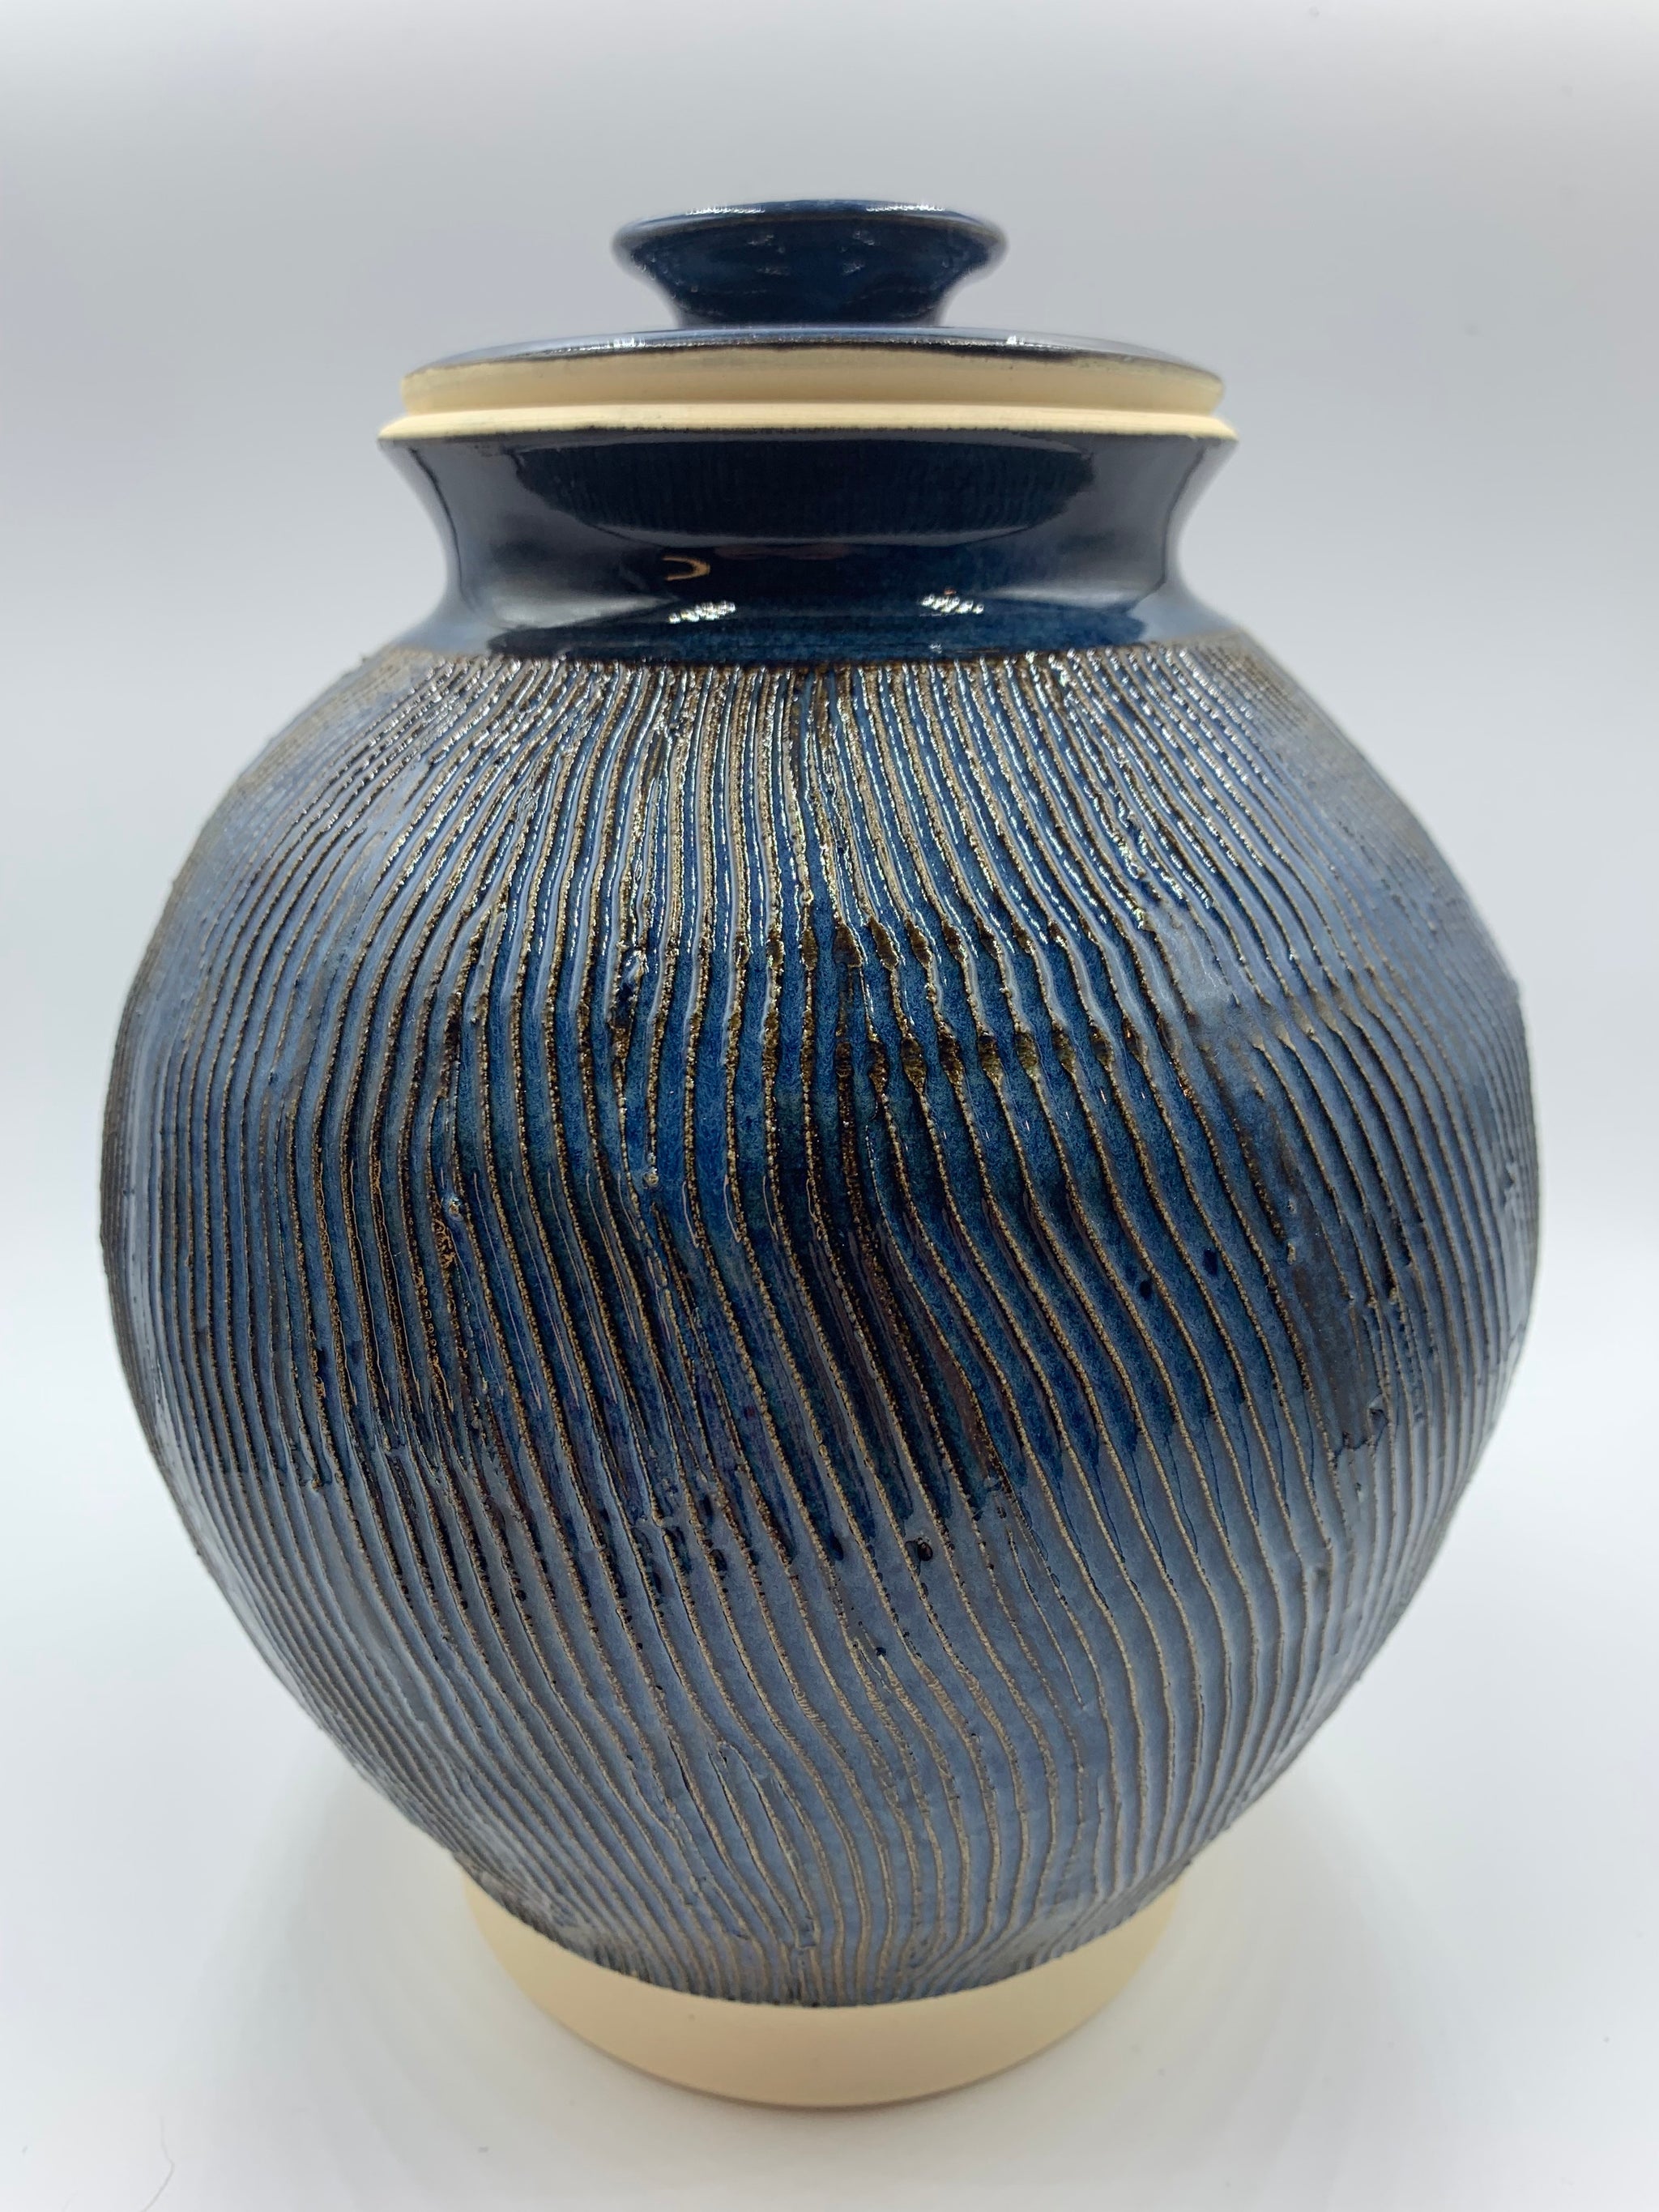
Glaze Firing
Finally, we have the main event! Where I get to see if all my hard work paid off and if the glazes came out the way I wanted. The beauty of this step is that every firing is different. Where a piece is placed in the kiln, how much glaze I put on the piece, any textures or ridges I made on it, what Cone level I fire to, and many other factors all contribute to the uniqueness of each firing. This part takes place over around 12 hours, and the kiln can get up to ~2200 F at Cone 6 (the temperature I fire my pieces at)
7
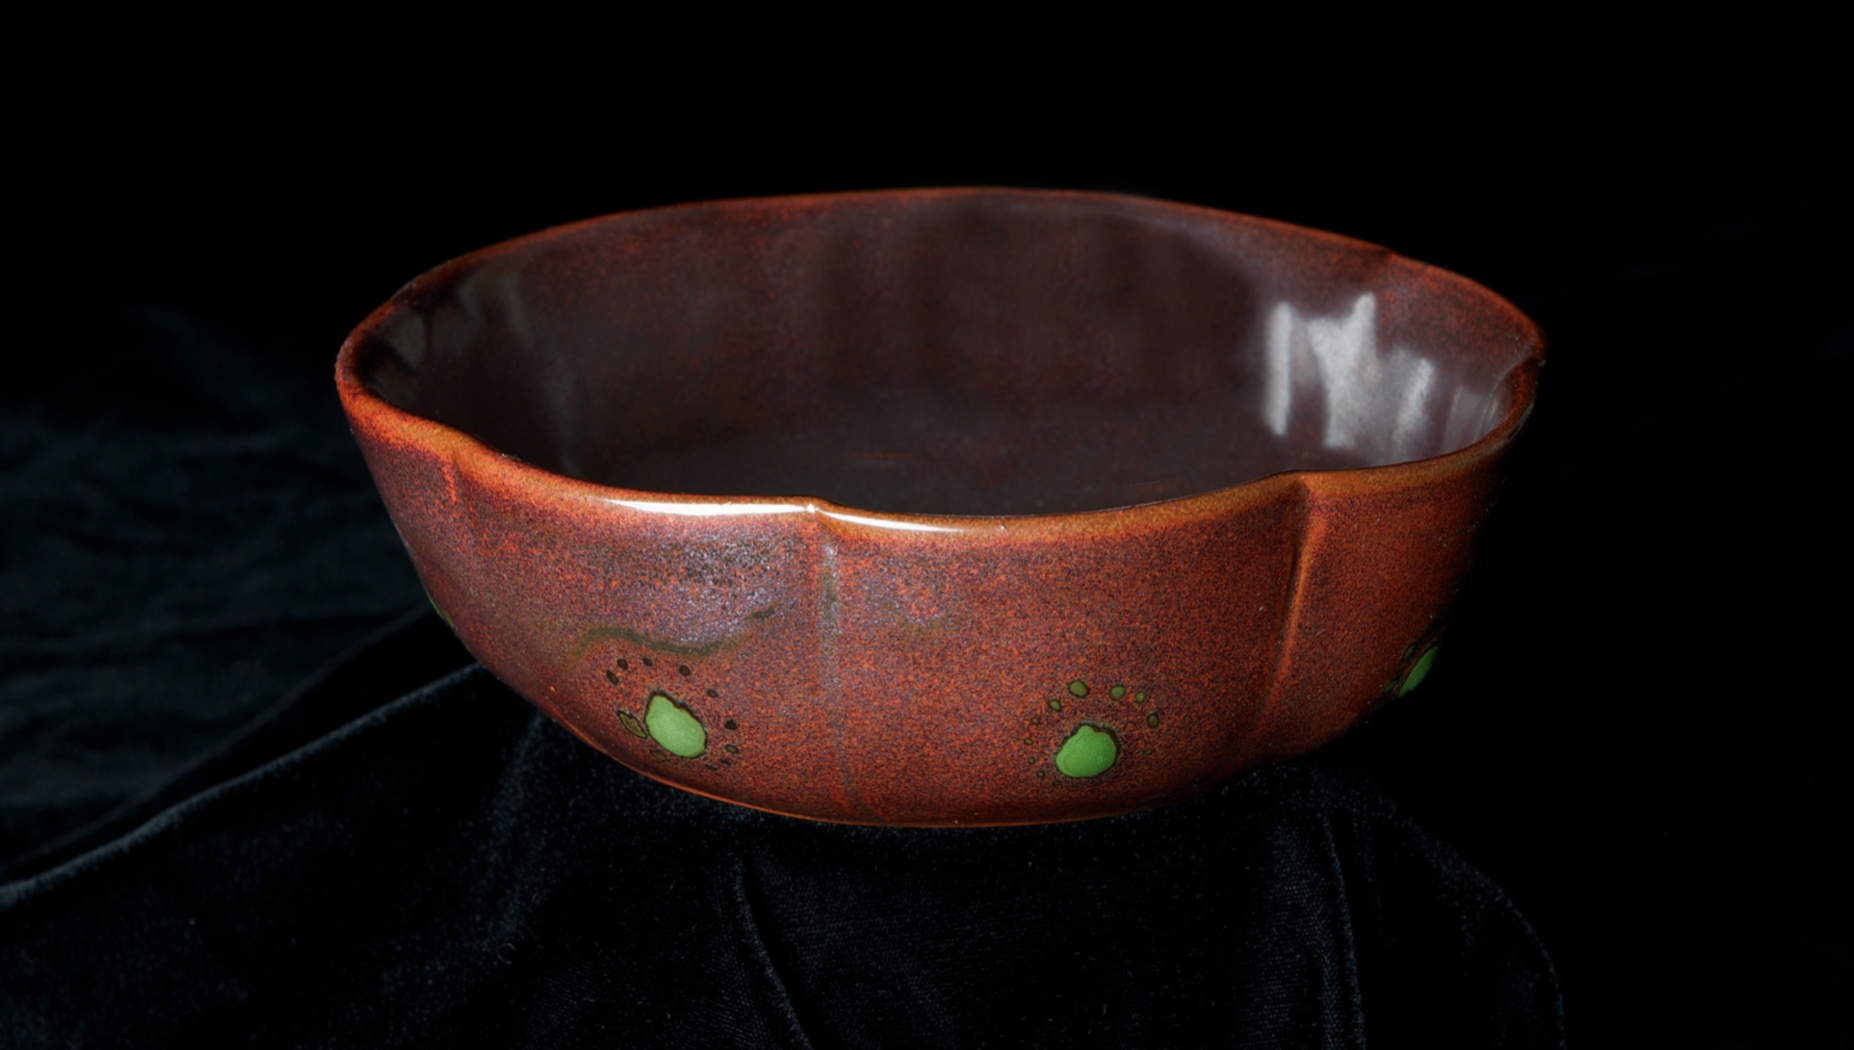
Photos and Posting to the site
Once I have everything out of the kiln, I'm able to upload photos to the website and list them for sale.
8
Boxing and Shipping
Finally, I can box and ship the purchased items to your location anywhere in the U.S. Hope you enjoy!